
Handmade Chocolate Bouquet Tutorial: Crafting the Perfect Gift
In a world where gift-giving is an art, a handmade chocolate bouquet stands out as a delightful and personal choice for any occasion. This handmade chocolate bouquet tutorial is perfect for those looking to create a unique and thoughtful gift idea that is sure to please any recipient. From birthdays to anniversaries, a chocolate bouquet makes for a sweet, memorable present that showcases your creativity and thoughtfulness.
What is a Chocolate Bouquet?
Before we dive into the crafting process, let’s clarify what a chocolate bouquet is. A chocolate bouquet is the perfect combination of beautiful aesthetics and mouth-watering treats, made up of chocolates arranged in a way that mimics a traditional flower bouquet. It is a fantastic alternative to flowers, perfect for gift-giving occasions where we want to add a touch of sweetness. The best part? You can personalize it based on the recipient’s favorite candies and chocolates, bringing an extra layer of customization to your gift idea.
Materials You Will Need
To create your own chocolate bouquet, gather the following materials:
– Chocolates: Select a variety of your favorites. Consider including bars, truffles, and novelty chocolates.
– Sticks or Skewers: Wooden sticks, such as lollipop sticks or craft skewers, work well to attach the chocolates.
– Foam Base: Use a floral foam block for stability. It will help support the arrangement.
– Wrapper Paper: Choose colorful tissue paper or cellophane to wrap around the bouquet.
– Ribbon: For added flair, use ribbons to tie around the base of the bouquet.
– Decorative Filler: Consider using shredded paper, faux grass, or even fresh flowers to fill in any gaps.
Step-by-Step Tutorial
### Step 1: Prepare Your Foam Base
Begin by cutting the floral foam to suit the size of the bouquet you desire. Ensure it fits snugly into your chosen container, such as a vase, pot, or decorative box. The foam serves as the foundation of your chocolate bouquet.
### Step 2: Arrange the Chocolates
Next, it’s time to prepare the chocolates:
– Attach the sticks: Insert wooden sticks into each chocolate. If your chosen chocolate is soft, like truffles, consider using a toothpick to help secure the stick.
– Positioning: Start with the larger chocolates at the center and gradually add the smaller chocolates around them. Be creative with your arrangement and consider varying the heights for a more dynamic look.
### Step 3: Secure the Arrangement
Once you have all the chocolates in place, push the sticks into the foam base to secure them. Make sure to test the stability of your bouquet by gently shaking it to see if any chocolates come loose. Add more foam if needed to fill gaps and support the weight of the chocolates.
### Step 4: Wrap Your Bouquet
Wrap your bouquet in colorful tissue paper or cellophane. You can also layer different colors for an eye-catching effect. Gather the wrapping material at the base and secure it with ribbons to give it a polished finish.
### Step 5: Add Decorative Elements
Finally, complete your bouquet with decorative fillers to enhance the overall appearance. Fill in spaces with shredded paper or faux grass, and add a special touch with a handwritten note or card expressing your thoughts to the recipient.
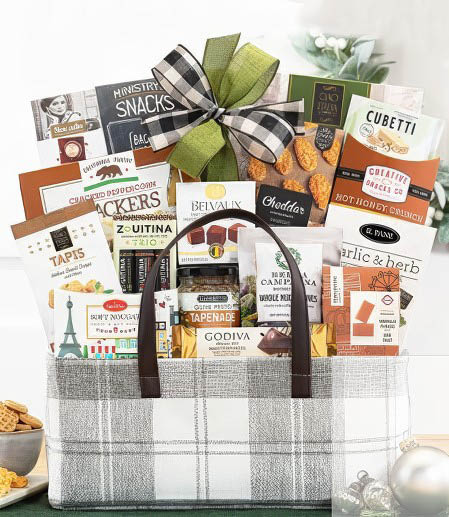
Product Recommendations
To help you get started on your journey of creating a stunning chocolate bouquet, here are some product recommendations:
Creating a handmade chocolate bouquet is a heartfelt endeavor that results in a unique and delicious gift idea for any occasion. Whether it’s for a birthday, anniversary, or just to express your love and appreciation, a chocolate bouquet shows effort and thoughtfulness. At Giftys.shop, we are dedicated to helping you find even more unique gift ideas for every special moment. Explore our curated selections to make your gift-giving experience even more delightful. Happy crafting!
You might also enjoy reading Chocolate and Flowers for more insights on this topic.

No responses yet